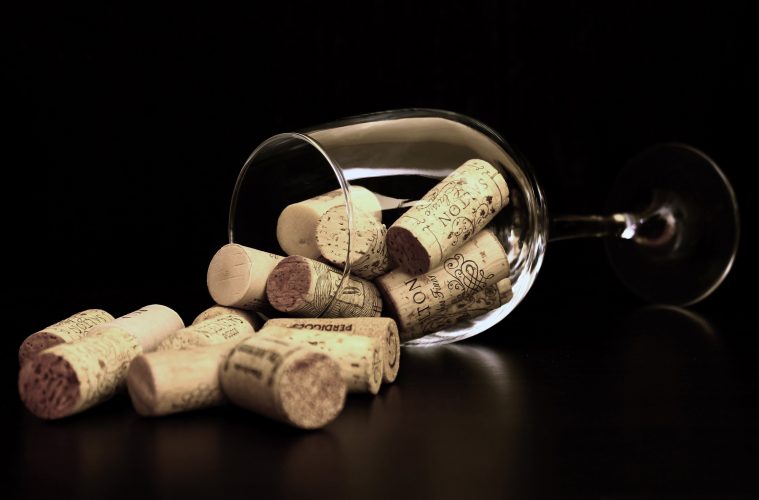
Think creatively! Create unique entertaining staples with corks from your favourite bottles of wine. Try turning your wine corks into a beautiful DIY coaster. Use these easy steps to achieve this design.
Materials needed:
- Utility knife
- Cutting mat
- Hot glue
- Epoxy
- Ruler
- Pencil
- Corks
- Tray
- Coasters
Once you have gathered all the necessary materials, it is now time to get started with your coasters. The steps are simple, all you need to do is just follow them thoroughly.
Step 1: Cut the corks in half
You will need to be careful with this step as you need to cut the corks perfectly. You will want to soften your corks for cutting. Not only will this soften the corks, but it will sanitize them. Try boiling them to make them easier to. Cut the corks in half with a sharp knife.
Step 2: Line a tray with corks
Line a tray with corks until the entire surface is covered. Make sure the corks are level so your drinks won’t spill. It is a key detail to make sure you have them levelled properly before moving to the next step. If you want the coasters to be completely even across the top, you can measure the pieces as you cut them.
Step 3: Cover the corks with epoxy
Pour epoxy over the corks to make a waterproof seal. Try adding the epoxy on the top part of your lined corks, the part you will be using to place the cups/glasses. Depending on what you use to dry and remove air bubbles to speed up drying time. Allow to dry thoroughly before using.
Step 4: Apply hot glue on the corks and place them on coasters
Now move on to the coasters. Apply hot glue to the back of each cork. Place the corks so they line the surface of the coaster. Make sure the corks are level so your drinks won’t spill. Please note that there should be no big gaps between these cork halves, just be extra careful.
Step 5: Now your coasters are ready to use
Be it coffee, water or cold drinks, you can now take the coasters in use. They are now also suitable for wine and champagne glasses.
With these easy-to-follow steps, you can now have your coaster without having to hurt your pockets by buying new ones.
ALSO SEE:
Feature Image: Pexels


