Moss poles are a popular trend designed to satisfy your climbing plants for easy root attachment. Here’s how to DIY your moss poles for your plants.
What is a moss pole?
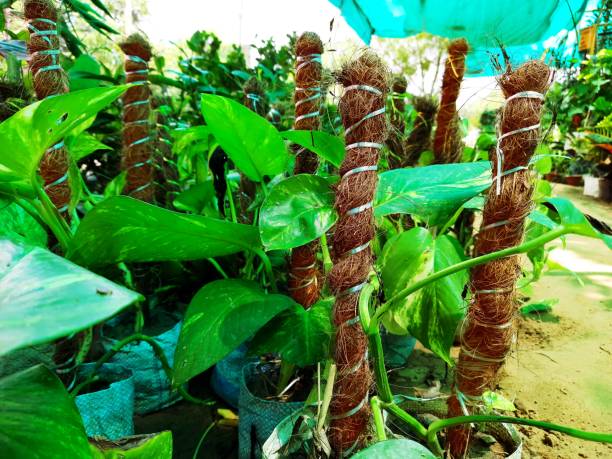
Moss poles are sturdy poles coated in moss that encourage plants to grow. They provide a medium that has micronutrients for the plants to benefit. Having moss poles is a way to train your widely growing plants into an upright position helping with their growth. While making your moss pole may seem intimidating at first it’s easy and fun.

Image Credit: Unsplash
Materials you’ll need:
- Moss
- Mesh fencing and Bamboo stick
- Gardening Tape
- Garden Ties
- Scissors
- A container to soak your moss in
Step-by-Step Guide:
Step 1: Soak your moss
- The important first step is to soak your moss in a water container and allow it to soak for about a few minutes thoroughly. Once soaked remove and squeeze to remove excess water, the goal is to have damp moss that isn’t dripping with water.
Step 2: Attach the moss to your stick
- With this step, you have an option of using only the mesh fencing or only the bamboo stick. With mesh fencing, you can cut the mesh to the size of a pole and bend the mesh into a cylinder-like pole. When using a stick, be sure to tie a piece of string tightly around the top of the stick and make a strong knot, lay a handful of moss on your pole. Wrap enough moss around the stick to make it more thick. Once the moss is secure, you can trim any stray pieces of moss to make it more neat.
Step 3: Place your moss pole in your houseplant container
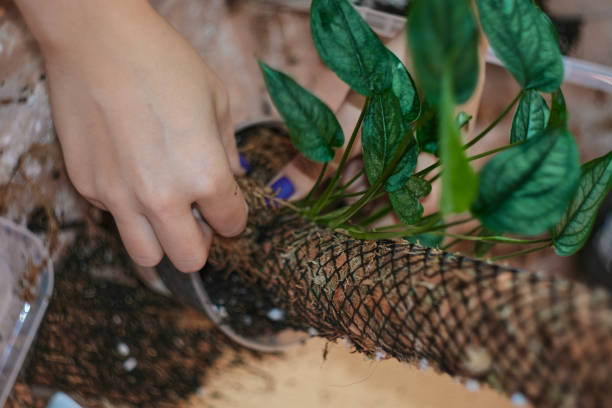
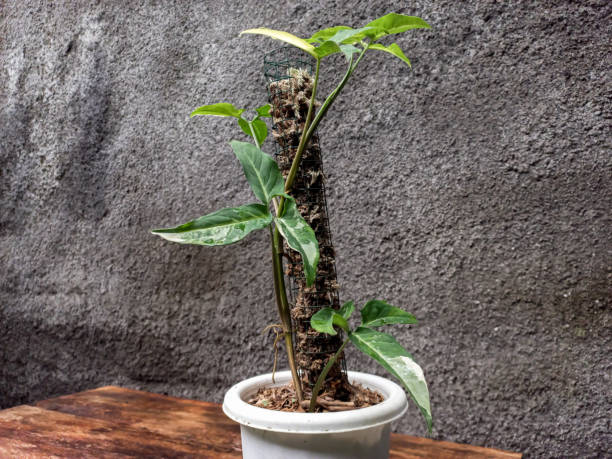
- After you have completed your moss pole, fill half of the pot with potting soil and place the moss pole on top of the soil. Make sure it is securely placed inside your pot. Fill in with soil mix and plant your plant around the pole. Alternatively, if you already have grown plants, train them gradually rather than forcing them into place. Try misting the moss on the pole where the plant is growing to encourage aerial roots.

Image Credit: Pexels
ALSO SEE:
Feature Image: Unsplash


