There’s a certain serenity that comes with sipping a cup of freshly brewed chamomile tea, especially when the blooms come straight from your own garden. Chamomile, with its delicate daisy-like flowers and soothing properties, is a delightful addition to any green space. Whether you’re a seasoned gardener or just starting out, here’s how to successfully grow chamomile in your backyard sanctuary.
1. Choose the Right Variety
Before planting, decide between the two primary types of chamomile:
- German Chamomile (Matricaria chamomilla): An annual plant that can reach up to 2 feet in height. It’s known for its prolific flowering and is commonly used for teas.
- Roman Chamomile (Chamaemelum nobile): A perennial ground cover that grows about 12 inches tall. It emits a pleasant apple-like fragrance and can be used as a lawn substitute in certain climates.
Your choice depends on your gardening goals and local climate. German chamomile is ideal for those focusing on flower harvest, while Roman chamomile serves both ornamental and practical purposes.
2. Optimal Planting Conditions
- Sunlight: Chamomile thrives in full sun but can tolerate partial shade. Aim for at least 6 hours of direct sunlight daily.
- Soil: Well-draining soil is crucial. While chamomile isn’t picky about soil type, it prefers sandy or loamy textures. Avoid waterlogged areas to prevent root rot.
- pH Level: A neutral to slightly acidic pH (5.6 to 7.5) is ideal.
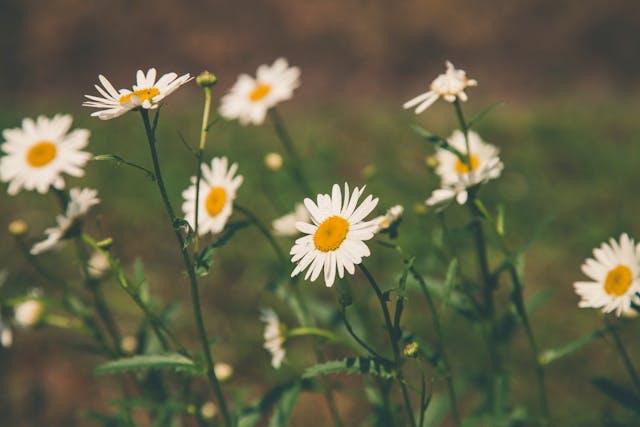
Image credit: Pexels
3. Planting Guidelines
- From Seeds: Start German chamomile seeds indoors 6-8 weeks before the last expected frost. Sprinkle seeds on the soil surface without covering them, as they require light to germinate. Once seedlings have developed a few true leaves and the danger of frost has passed, transplant them outdoors.
- From Transplants, Seedlings or Divisions: Roman chamomile can be propagated through divisions or purchased as young plants. Space them about 8-12 inches apart to allow for growth.
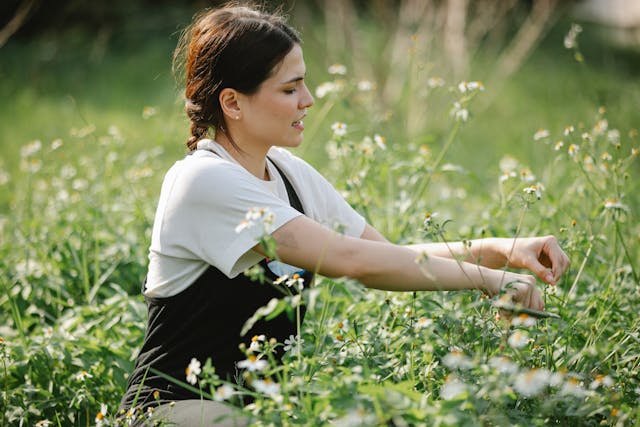
Image credit: Pexels
4. Care and Maintenance
- Watering: While chamomile is drought-tolerant, consistent moisture during its initial growth phase ensures robust plants. Water deeply once a week, adjusting based on rainfall and temperature.
- Fertilisation: Chamomile doesn’t require heavy feeding. A light application of compost during planting suffices. Over-fertilisation can lead to excessive foliage at the expense of flowers.
- Pruning: Regularly harvesting flowers encourages more blooms. For Roman chamomile used as ground cover, mowing after flowering can promote dense growth.
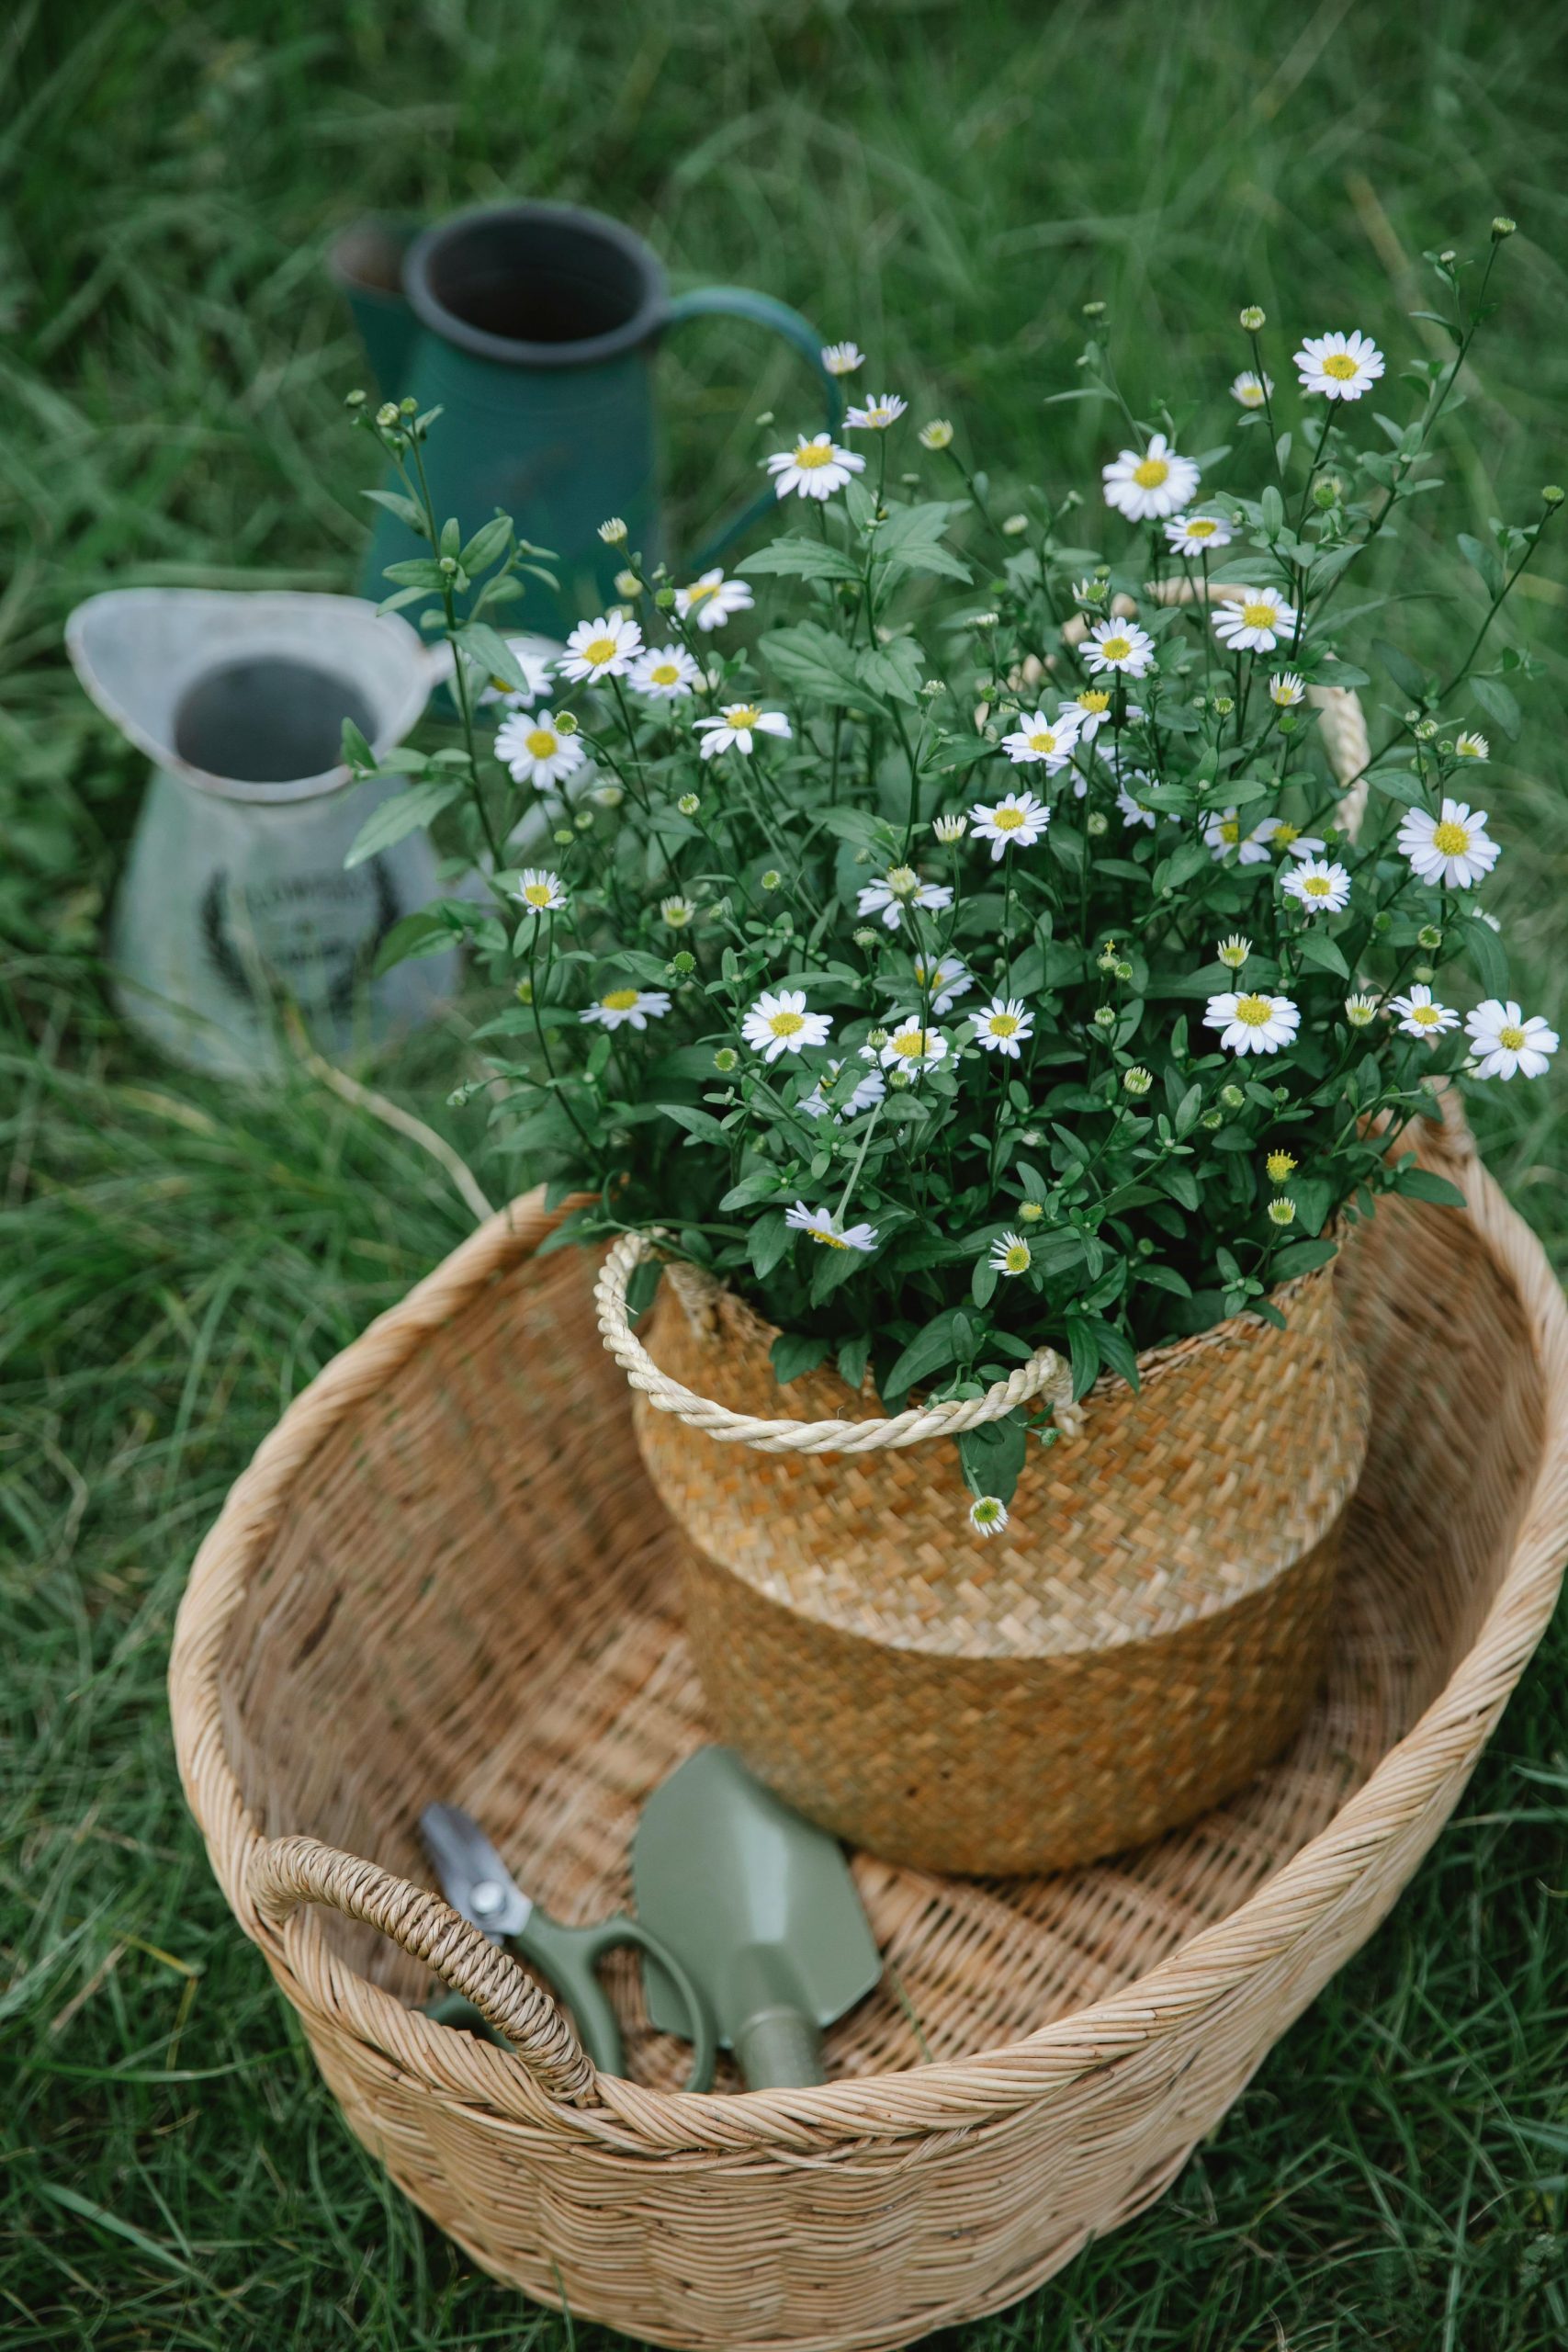
Image credit: Pexels
5. Pest and Disease Management
Chamomile is relatively resistant to pests and diseases. However, watch out for:
- Aphids: These small insects can be controlled with neem oil sprays or by introducing beneficial insects like ladybugs.
- Powdery Mildew: Ensure proper air circulation and avoid overhead watering to prevent this fungal disease.
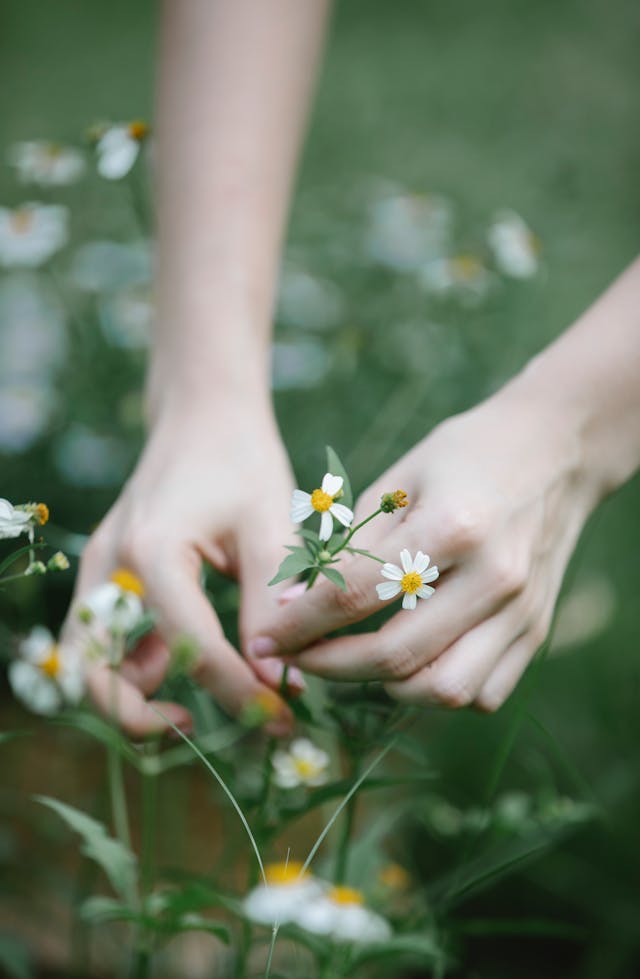
Image credit: Pexels
6. Harvesting and Usage
- When to Harvest: Pick chamomile flowers when they’re fully open, ideally in the morning after the dew has dried.
- How to Harvest: Gently pinch or snip the flower heads, leaving the stems intact.
- Drying: Spread the flowers in a single layer on a clean screen or paper towel in a well-ventilated area away from direct sunlight. Once dried, store them in airtight containers.
- Usage: Dried chamomile flowers are perfect for teas, tinctures, and even homemade skincare products.
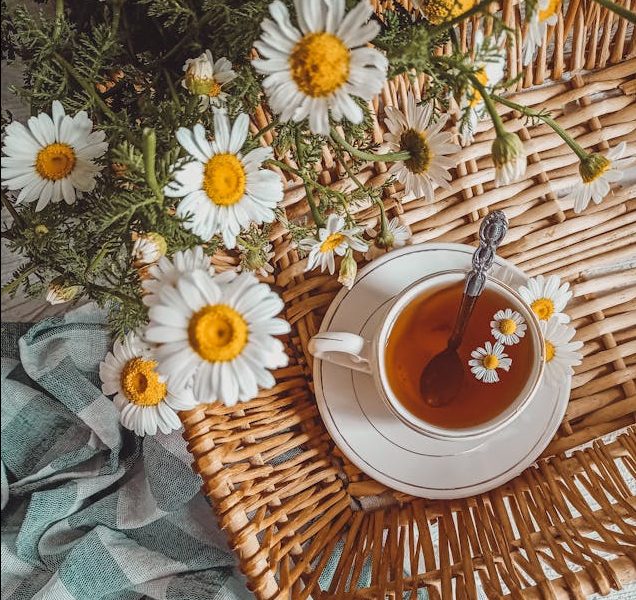
Image credit: Pexels
Growing chamomile is a rewarding endeavour that brings both beauty and utility to your garden. With minimal care, you can enjoy the calming benefits of this herb right from your backyard. So, embrace the tranquillity and let chamomile’s gentle blooms infuse serenity into your daily life.
ALSO SEE:
Image credit: Pexels


