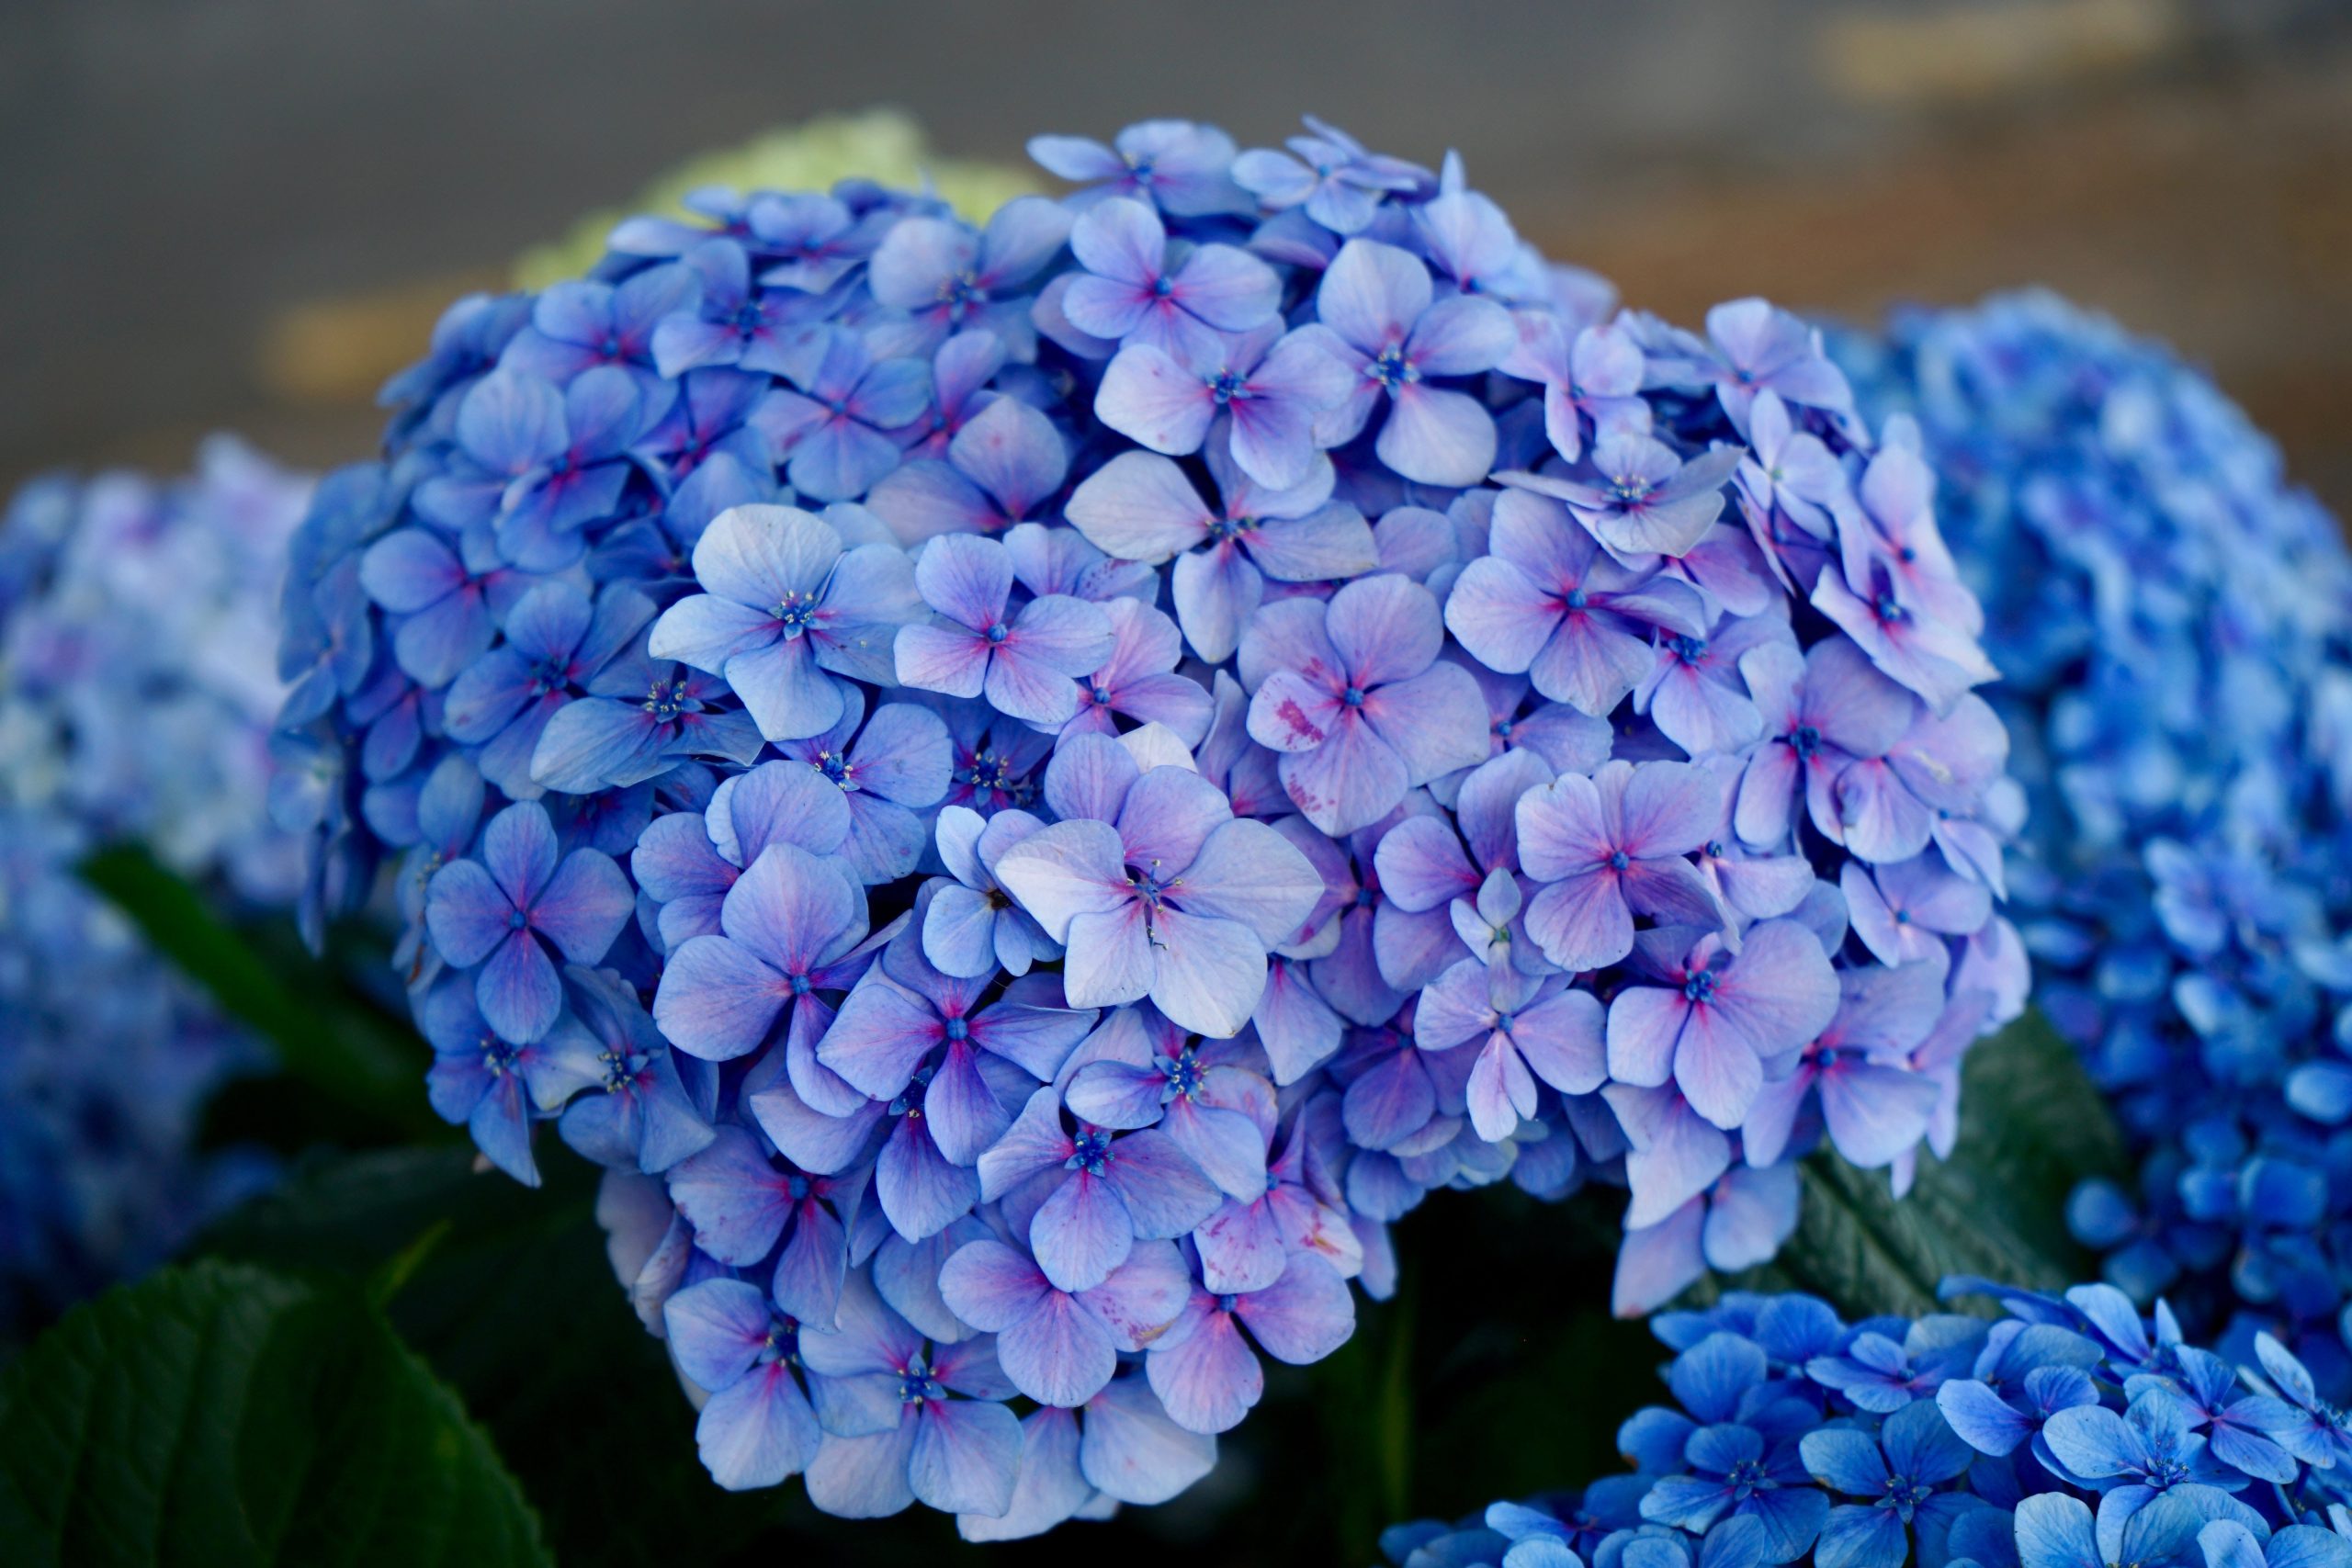
From maintaining colour to pruning, here are top tips to caring for hydrangeas.
MAINTAINING COLOUR
Flower colour generally depends on the type of soil and whether it’s alkaline, with a pH above 7, or acid, with a pH below 6. For blue flowers, the ideal is below 5,5. By changing the pH of the soil you can manipulate the colour of the flowers and ensure blues remain blue. However, most of the new intense red hydrangeas are colourfast, keeping their colour, whether grown in a soil with a low or high pH. Whites can be tinged with pink or blue depending on the pH.
Pink hydrangeas are usually an indication that the soil is alkaline with a high pH, and as they can’t take up any aluminium from the soil, they remain a pink colour. Enhance the pink by raising the pH with a handful of agricultural lime sprinkled around the roots of each mature plant in spring and watering it in.
Blue hydrangeas are the result of aluminium available to the plant in acid soils with a pH of about 6,5–5,5. The aluminium in acid soils with a pH lower than about 6,5–5,5 will help turn hydrangeas blue.
- Incorporate acid compost at planting time, use acid mulch like oak leaves, peat, pine needles and bark.
- Apply a foliar spray of aluminium sulphate, flowers of sulphur or a commercial blueing agent or water one of these in twice a month from early August through the growing season.
- Use a mixture of 25g aluminium sulphate to 1 litre of water and water in well. Avoid excess use on very young plants; plants in containers will need lower doses.
- Don’t grow blue hydrangeas near walls as the lime leached from the cement in the foundations is alkaline.
- Where the water and soil are alkaline, it’s easier to maintain the blue shades if plants are grown in containers.
- Check the pH of your tap water as this can affect the colour of your flowers too.
TROUBLESHOOTING
For signs of chlorosis (yellowing leaves), feed hydrangeas with Epsom salts followed by a dose of iron chelate. To boost them, foliar feed with Trelmix which contains micronutrients.
PRUNING
Every gardener has their own method. What’s important is not to remove the flower buds which develop on the wood of the previous year’s growth. As a general rule just trim off dead heads during summer leaving the plump, uppermost, buds. In winter (July/August), remove any dead wood and thin stems. On old or mature plants, take out a couple of old thick woody stems at the base to open up the plant and encourage fresh new stems. Then cut back the remaining stems to just above the first healthy pair of buds. Young plants will only need a light trim.
FOR THE VASE
Select only mature, fully open ‘flowers’. Cut long stems with some woody stem, then recut into the soft wood under water. Immerse the entire flower head and stem in water (the bath is a good place), for a couple of hours before arranging them. A little alum added to the water will help prolong their life.
You can also dry mature flower heads. Remove all the leaves and hang upside down in a breezy but warm, dry place.
PROPAGATION
Traditionally gardeners grow new plants from hard wood cuttings taken in autumn or after pruning. However they are easy to propagate from soft wood tip cuttings taken in summer and these grow remarkably fast.
ALSO SEE: How to grow mushrooms at home


