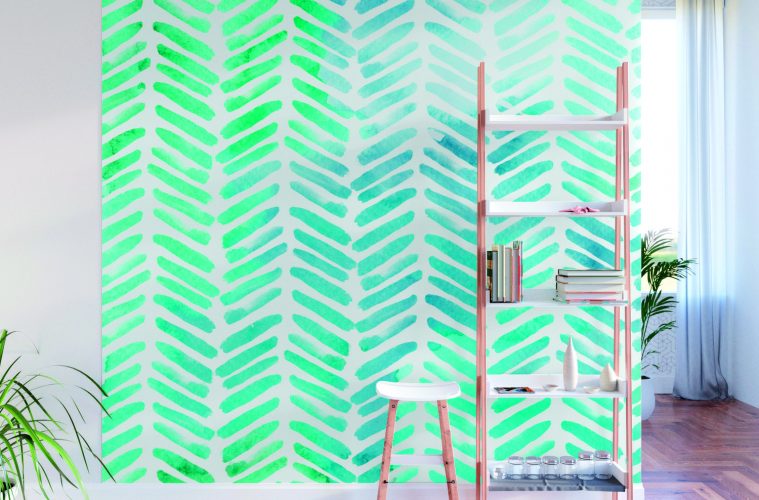
Transform a bog-standard wall in your home into something spectacular, with just a few creative paint strokes. Keep reading for a step-by-step guide on how to freehand a chevron wall.
How to freehand a chevron wall
What you’ll need
- Plascon Multi-Surface Primer
- Plascon Easy Living Wall Master Matt
- Plascon Easy Living Multi-surface Sheen Paints
- A drop sheet
- A mini roller
- A standard paint tray set
- Paintbrushes
What to do
1. Prepare, prepare!
Lay down a drop sheet and secure it with tape to save your floors and skirting from paint spills. Prime the wall with Plascon Multi-Surface Primer to ensure an even application and work surface that your paint can adhere to properly.
2. Apply two coats of Easy Living Wall Master Matt
Start by cutting in – this is when you apply a thin border of paint along the borders of the wall above the trims. This prevents any smudging against the corners. Once you’re cut in, dip your roller into the tray and evenly coat the entire surface of the wall with your first coat. Allow proper drying times before starting on your second coat.
3. Mark out the columns
Start by marking off the columns, using measuring tape and masking tape. This look isn’t a precise art, but you can keep your columns evenly spaced by measuring it out. Keep in mind how deep you’d like your chevrons to be and make sure your column widths suit that. Remember to add a strip of masking tape along the bottom of your cornice and top of the skirting.
4. Paint the chevrons
Shake and open the Easy Living Multi-Surface Sheen, and find a brush with a width that suits the thickness of your stripes. Free-hand the chevron pattern, keeping a relatively equal distance between them, but don’t obsess too much – imperfection will add to the overall effect. Let the paint dry, then remove the masking tape. This will leave a straight and smooth edge on each chevron and create a neatly finished, wallpaper effect for a fraction of the cost.
Top tip
Never skip on priming your surface – it seals the surface, hides joints and seams, and provides a consistent surface for your topcoats and creative paint strokes.
ALSO READ: How to paint concrete floors


