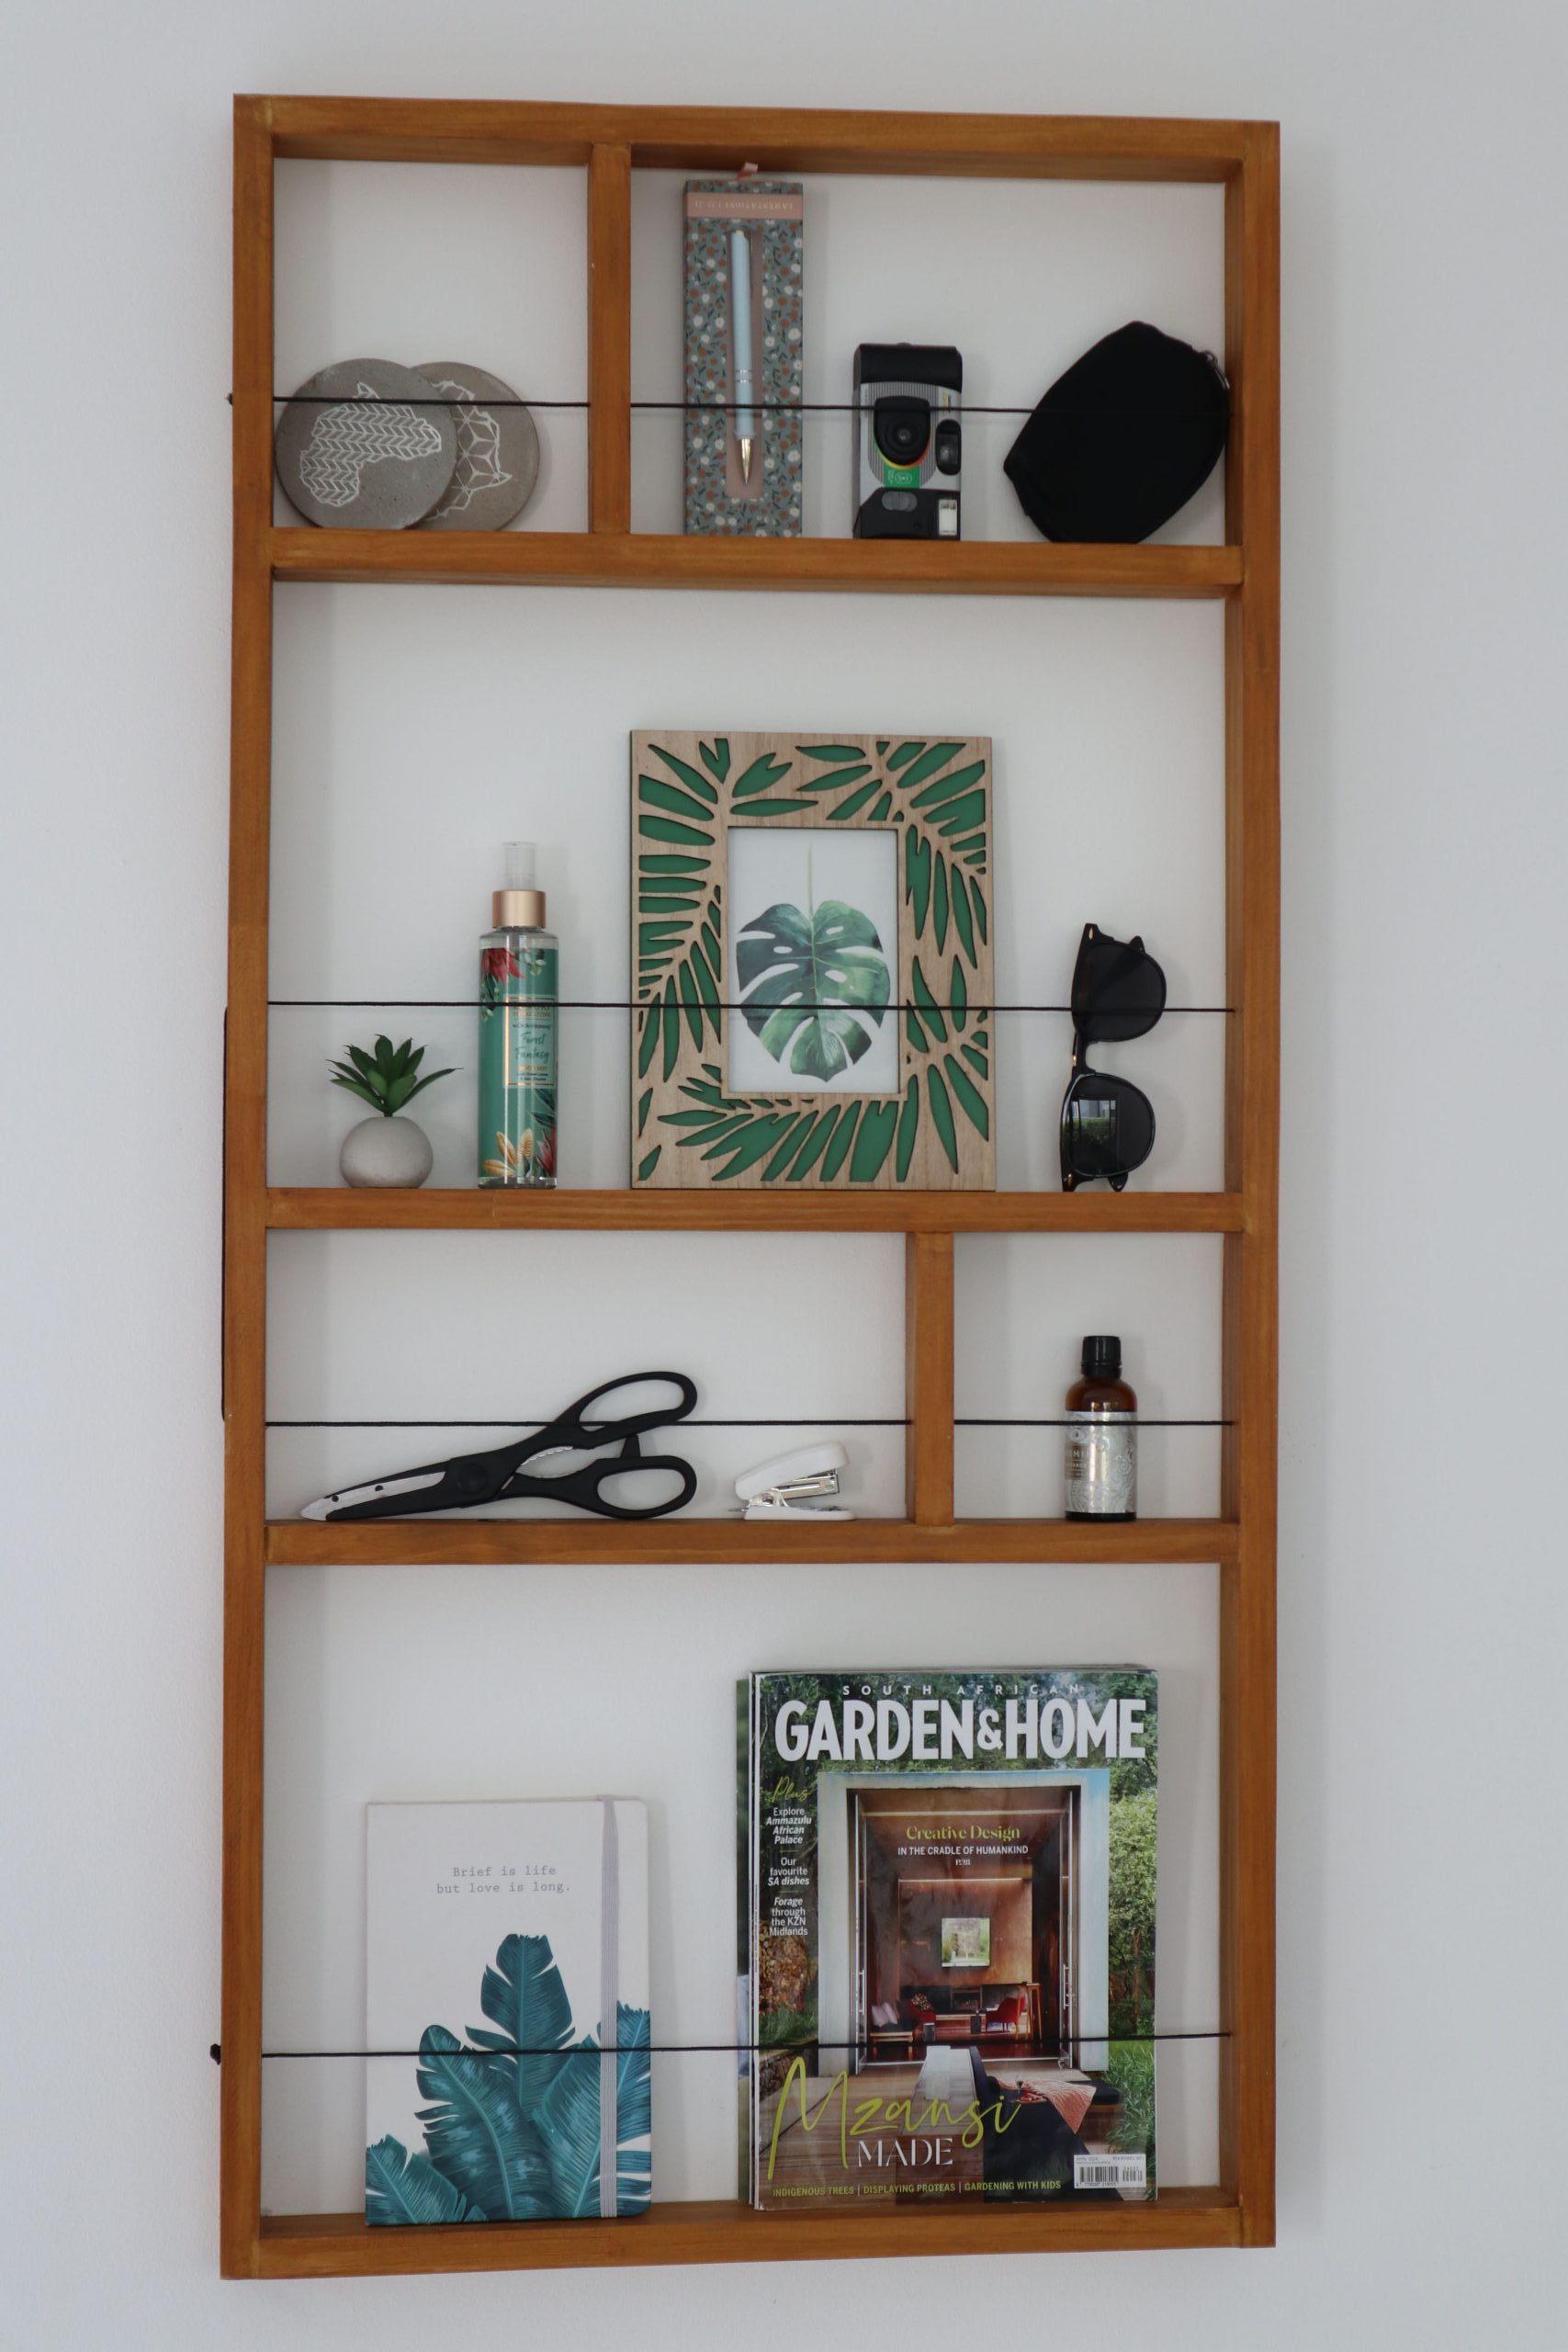
When a D.I.Y not only looks like art on the wall, but is also practical, it is a winning project!
Looking to add both style and function to your walls? A D.I.Y wall rack is the perfect solution! Not only does it help declutter your space by offering extra storage, but it also serves as a decorative feature that enhances your home’s aesthetic.
Whether you need a place to hang kitchen essentials, organise entryway accessories, or display decorative items, this easy-to-make rack is a versatile addition to any room. With a few materials and some creativity, you can craft a custom piece that reflects your style while keeping your home tidy and organised.
Materials
- Orbital sander and sanding disc (120 grit)
- Power drill
- 3mm drill bit for wood & counter sink bit
- Cut screws 3.5 x 40 mm and driver bit to drive in screws
- Wood stain or paint and a paintbrush
- Wood filler and a scraper
- Wood glue and long spreader clamps
- Black string
- Scissors
- Tape measure
- Pencil
- Speed square
- Safety gear (eye goggles, gloves, dust mask)
- 2 x Pine 22mm x 44mm x 3m
Cutting list
- 5 x 22mm x 44mm x 500mm
- 2 x 22mm x 44mm x 1100mm
- 1 x 22mm x 44mm x 200mm
- 1 x 22mm x 44mm x 150mm

Step 1
Make use of a cutting power tool and cut the pine timber to size according to the cutting list. For this project a compound mitre saw was used to make the straight cuts. Remember to wear the appropriate safety gear when using power tools.
Step 2
Using a 120-grit sanding disc attached to your orbital sander, lightly sand down the surfaces and edges of all the wood pieces until smooth. Wipe away excess sawdust.
Step 3
Grab the long and shorter pieces of wood and start to position the various sections of this DIY wall rack. There will be two larger sections and two smaller sections the width of the two pieces of wood cut (1 x 22mm x 44mm x 200mm) and (1 x 22mm x 44mm x 150mm). The other two larger sections were measured at (300mm and 400mm) to hold magazines on display, but you can measure these other two sections at any size you wish. Once you are happy with the position of the wood pieces, make markings, secure them, and assemble them in the following step.
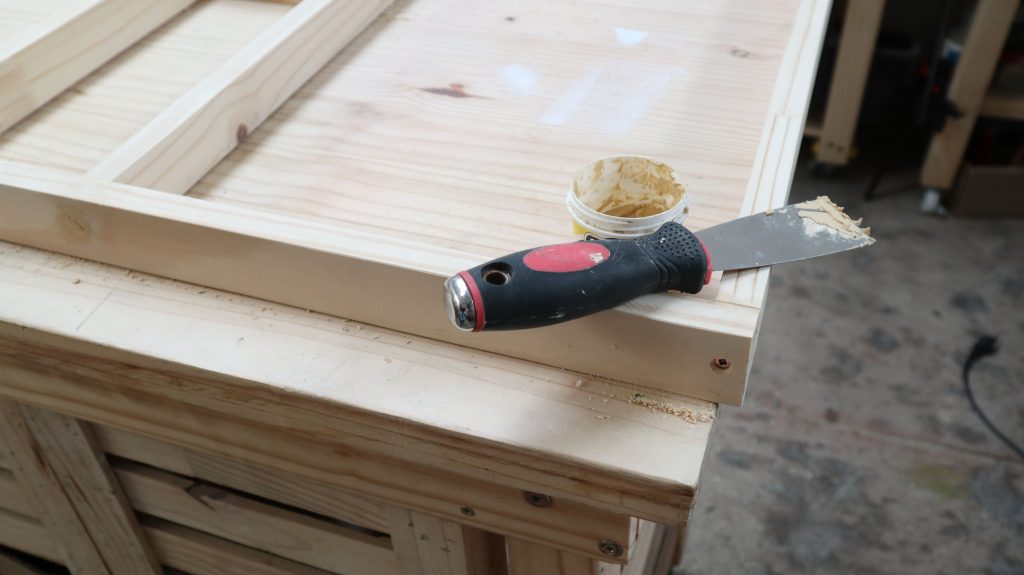
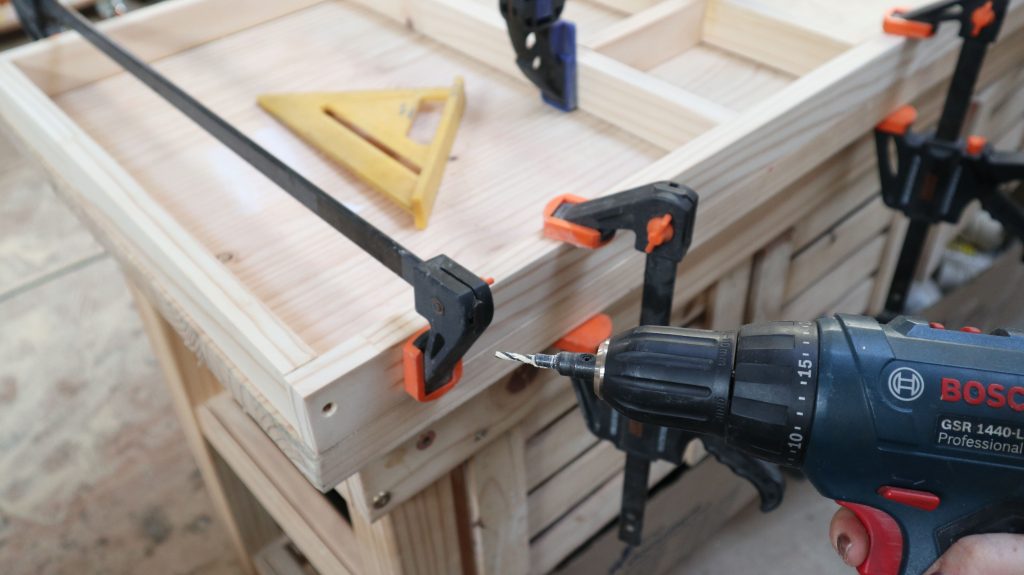
Step 4
Apply wood glue to the joins and hold them in place with a spreader clamp. Insert the 3mm wood drill bit, or 2 in 1 pilot hole and counter sink bit, into your power drill. Drill a pilot at all the joins you just applied wood glue. If you are not using the 2-in-1 pilot hole and counter sink bit, make sure you counter-sink each pilot hole before driving in the wood screws. Once all the pilot holes are drilled and counter sunk for the screw heads, insert a driver bit and drive-in screws at each joint to fully secure the wood pieces together. Release spreader clamps.
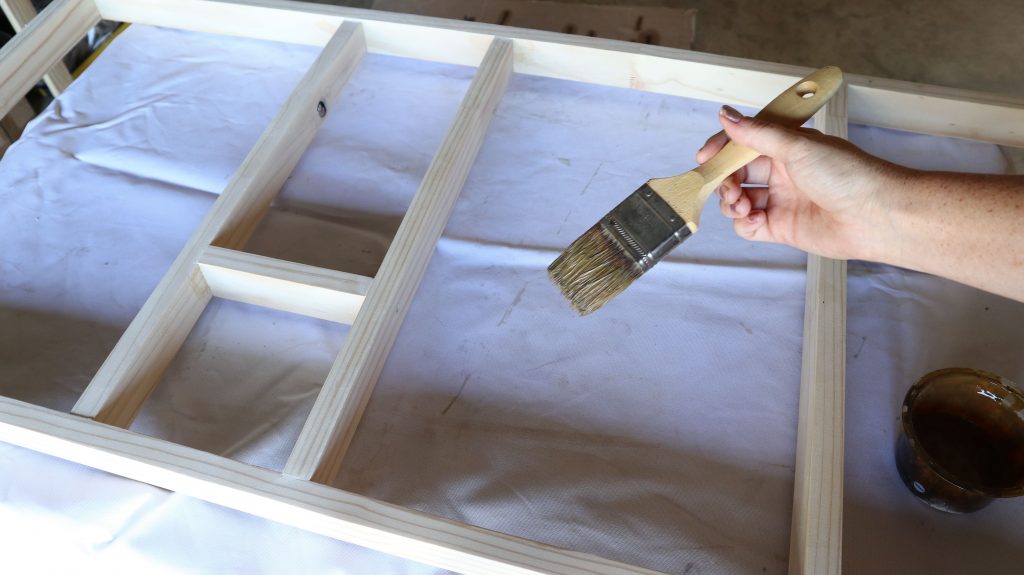
Step 5
Stain or paint your DIY wall rack any colour you wish. Apply two coats with a paintbrush and allow for drying time between coats.
Step 6
Measure equal holes that will allow the string to sit across each section of the wall rack to hold up items on display. Make sure the string line sits just under the halfway mark of each section.
Insert a drill bit slightly bigger than the width of string, so that is feeds through the drilled holes easily, and tie a knot at both ends to secure tightly. Decorate and place items out the way and on display on your newly built DIY Wall rack.
ALSO SEE: HOW TO D.I.Y A BATH TRAY
Images: Supplied
This article was originally published in Garden&Home June 2024 print magazine